Lately, I've been making alot of necklace pendants, and I've been trying to think of a use for this piece of beautiful driftwood I've had sitting in the corner of my room for ages- this is what I came up with!
Driftwood is such a nice thing to have around your house- it's beautiful, and smells like the beach, which in the middle of Winter is a comforting thing! Also, this jewelry hanger is so easy to make, it literally took me 10 minutes- so why not have a go yourself?? Instructions after the jump, chums!
So, all you'll need is:
+ A piece of driftwood, or a nice branch
+ Some wool or string
+ A hammer
+ Some nails (mine were 1.25mm in diameter)
+ A ruler
+ A pencil
+ A drill & narrow drill bit (optional)
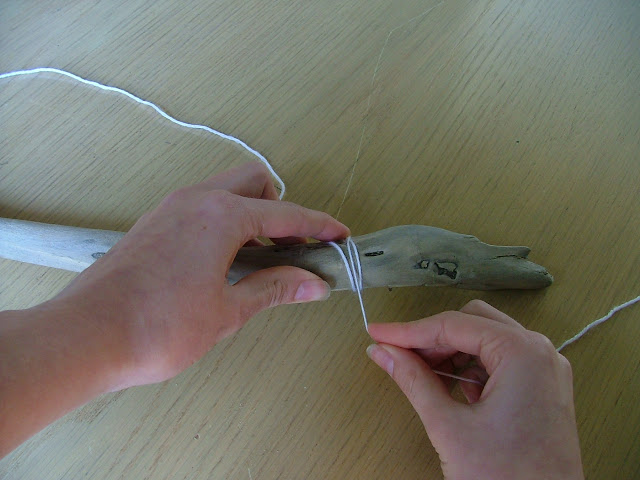
Firstly, wrap one end of the string around your branch...
... And tie it off with a double- know to secure.
Now, repeat for the other end of your branch, and cut your piece of string the the same length as that of your branch. (My piece of driftwood was 90cm long, and so was my string.)
After you've done that, grab your pencil and ruler and measure and mark out where you'd like each nail to sit. (I used 7 nails, and placed them 9cm apart)
Now it's time to hammer in your nails! As I said before, I used some quite small ones- 1.25mm in diameter. I recommend using the smallest nails you can get your hands on, as because your branch will be relatively thin it'll be prone to splitting. Using smaller nails lowers your chances of this.
And another tip: as I used driftwood, the sea salt it had been exposed to made it quite solid and hard to nail into. I ended up using a drill with a 1.5mm drill bit to drill part- way down before adding my nails- it made my job a LOT easier!
And you're finished- simple, right? Now, find somewhere to hand that beast and admire your hard (ish) work!

(Pssst- did you know I've actually made tutorials for every pendant in the picture above, except for the leaf on the far right? Starting from the left, you can find the tutorials here, here, here, here, here, and here! Happy DIYing.)


Oh sweetie! this looks great! what a brilliant idea! how come I haven't thought of this before?! Thanks a lot! :)
ReplyDeleteShy- I'm so glad you like it!! :)
ReplyDelete