I think these are the sweetest little envelopes- and so simple to make, too! I think they'd make the perfect addition to a handmade birthday card, or maybe even a Valentine's Day surprise, but that's just my opinion!
See the tutorial for these envelopes after the jump!
- So, to make these, you'll need:
+ Some brown paper bags
+ A ruler
+ a pencil
+ Some scissors
+ Some decorations; cut- out hearts, buttons, embroidery thread, stencils, etc.
Firstly, using your ruler make a mark 10.5 cm and then 18cm up the middle of your paper bag:
Next, draw a straight line through the bottom mark, like so:
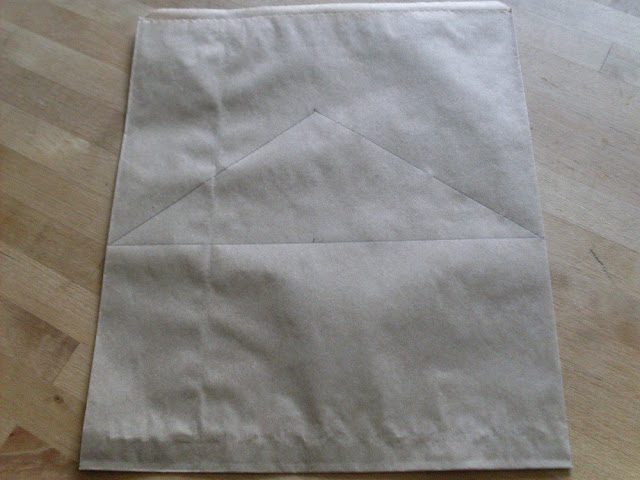
Now, draw lines from the higher mark (the one sitting 18cm up the middle of your bag) down to the very edges of the lower line:
Now, you should be left with something that looks a little like this:
Now, your envelope is ready to cut out! This part is easy; just along the top line/s that form the peak.
If you prefer, you can now either cut off or fold in the front triangle so you don't have two flaps. I decided to fold mine inside the envelope, like this:
And voila, your envelope is all done! Now, feel free to decorate it however you like.


These are very pretty. I have two teenage daughters who are very into art. They'd love this. :)
ReplyDeleteThankyou, Robert! :)
ReplyDeleteYou know I've always seen these kinds of DIY posts. But I wonder about these images. How do you take pictures of yourself drawing lines and what not with no hands? Who took the pictures?
ReplyDeleteAbdul, good question! I always used to marvel at how DIYers did these kind of posts- I thought they must all have their own private photographers or something. Then my trusty friend, the tripod came along! ;)
Delete